How to hang, with Mbs Rail Systems
Mbs hanging is your premier supply for any kind of picture or display hanging systems. One system that we produce is our Rail Hanging System, used to hang any print media on your walls or ceilings with a museum or art gallery like appearanace. The system works by first mounting a system locator; or if you’re hanging multiple rails a system connector, every 12 inches and then mounting the rails onto the locator or connectors. Once the rails are installed you can use any of our cables or hooks to hang your art piece securely.
.jpg)
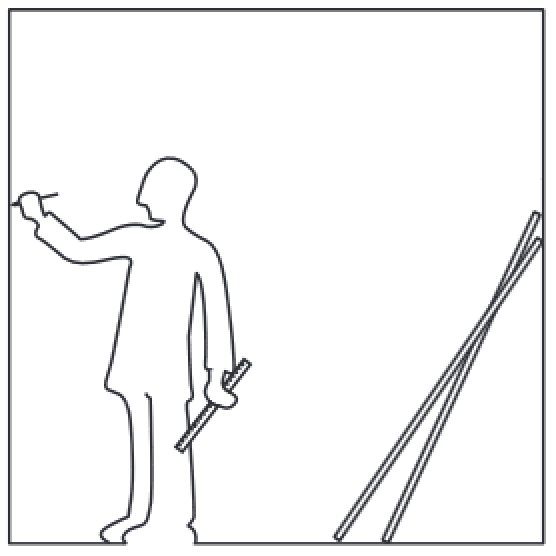
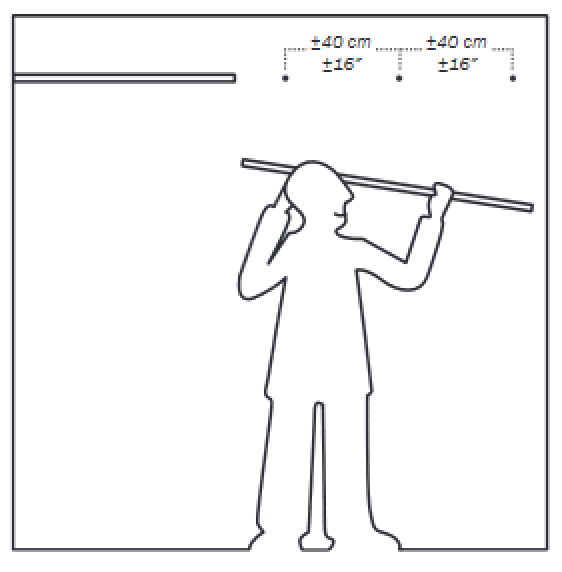
Step 1: Measure and Mark
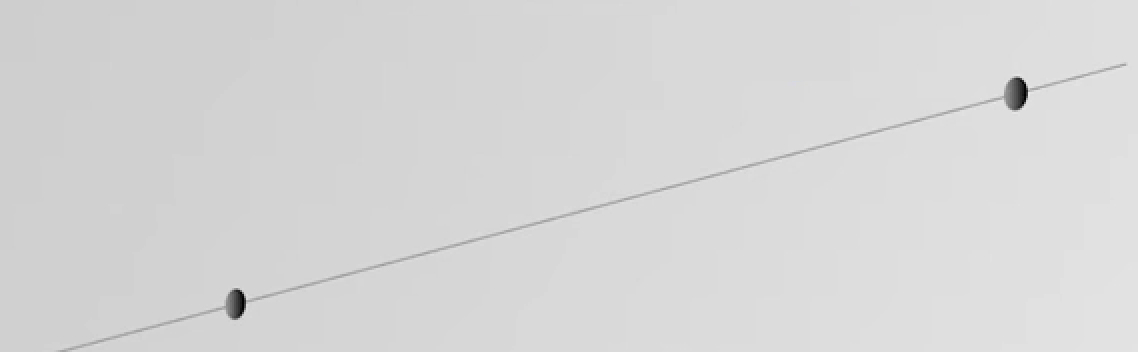
The first step in hanging is to measure and mark where the system locators or connectors will go on your wall. For maximum strength we recommend placing one at least every 12 inches. You can mark one on the wall and then use your ruler ot tape measure to mark out a straight line, then placing a mark every 12 inches where the screw anchors will go.
Tools Required
Drill/Screwdriver*
Marker or Masking Tape
Ruler/Tape Measure
*Drill only required for concrete anchors
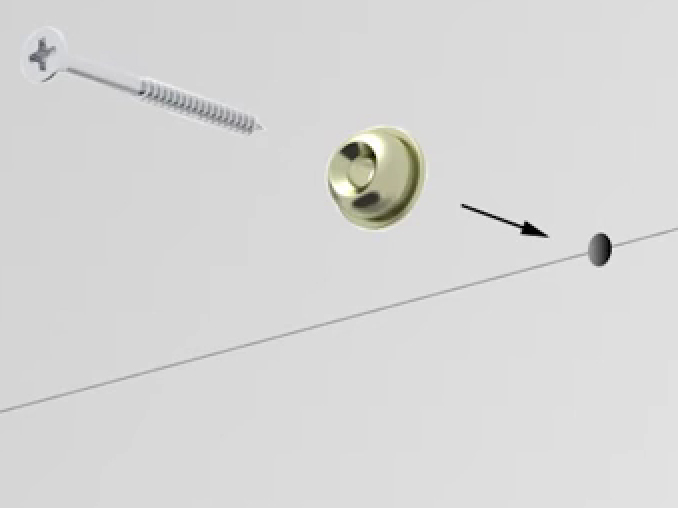
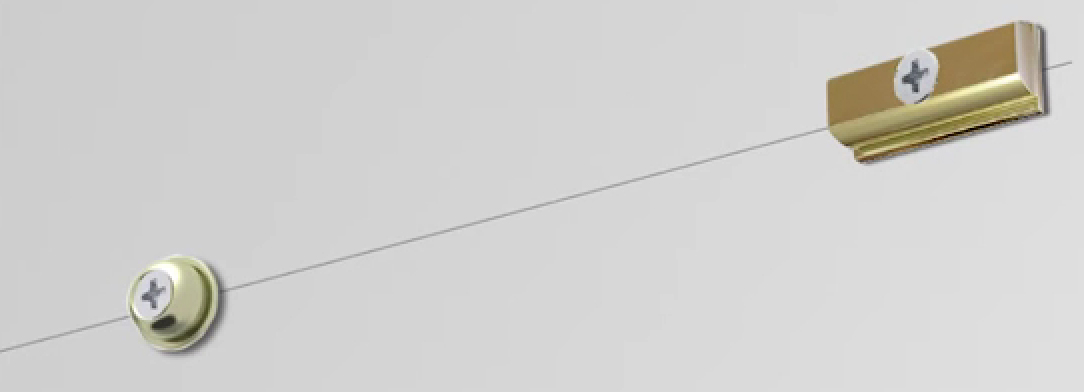
Step 2: Install Mounting Hardware
Once you have the holes for the anchors marked out use your screwdriver (drill if installing into concrete) to screw in the plastic or metal anchor into the wall. After the anchor is in, screw in the system locator or connector with the included screw as far in as it will go. Give it a quick pull to make sure the anchor and button are set and then you can move on to installing the actualy rail into the wall.
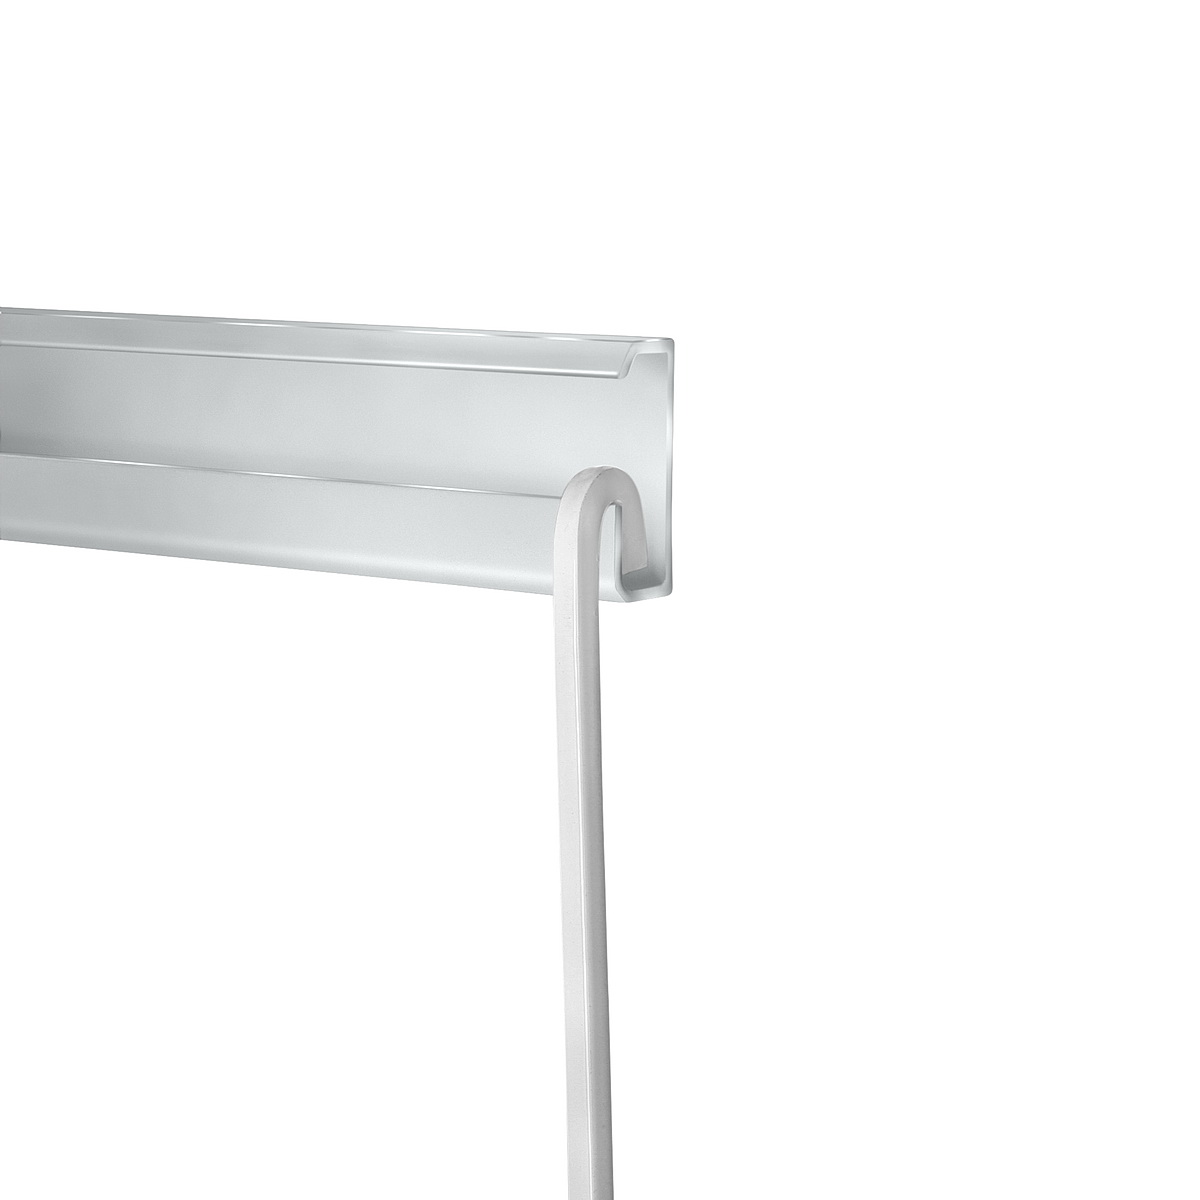
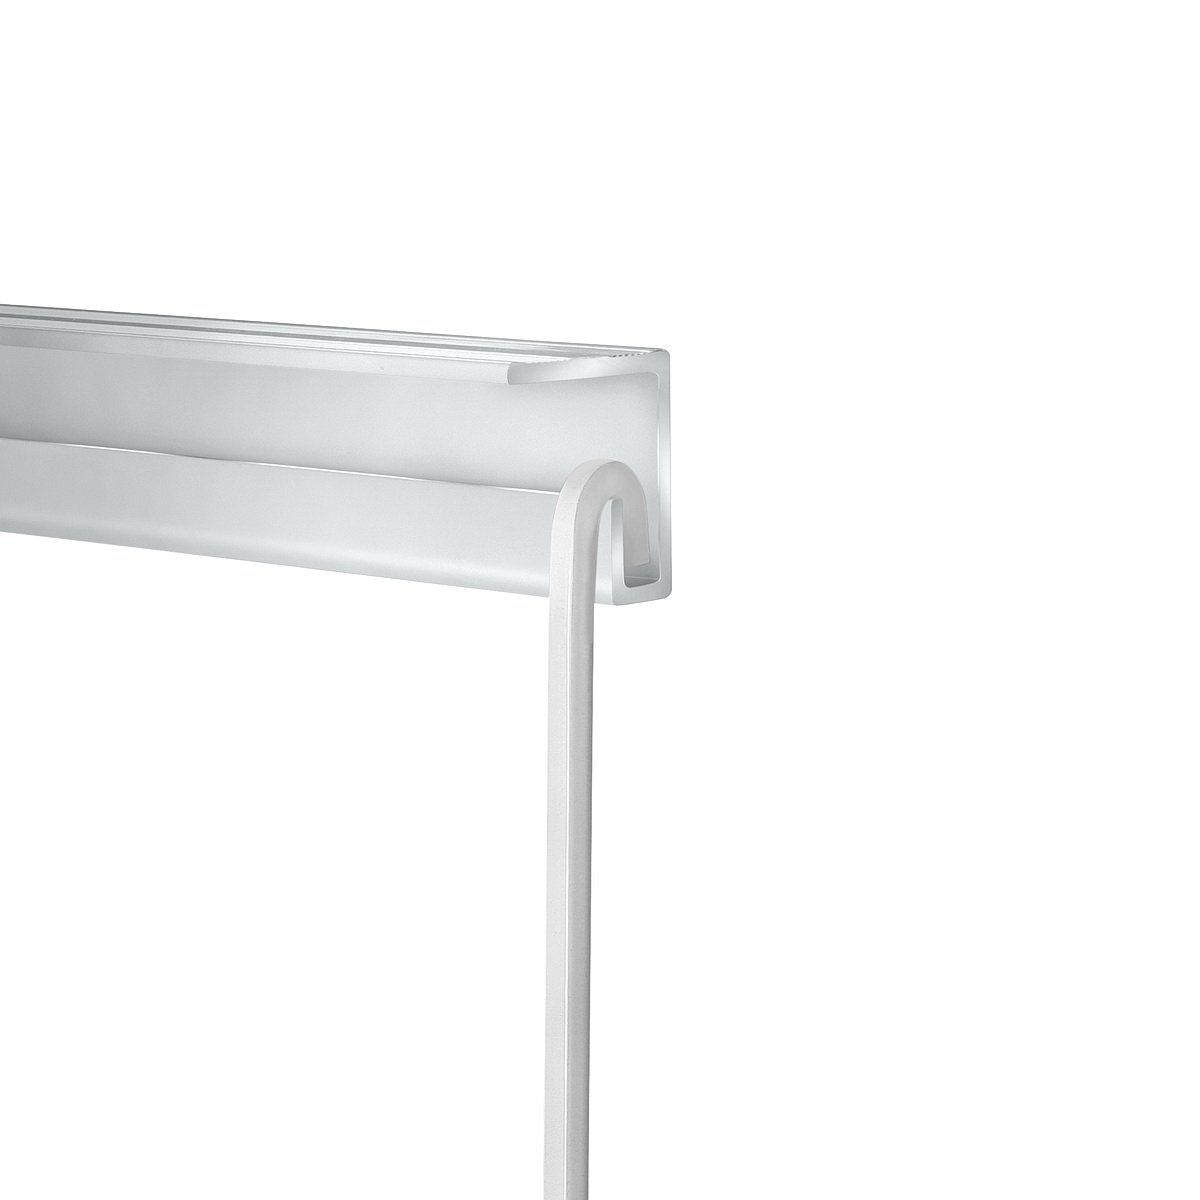
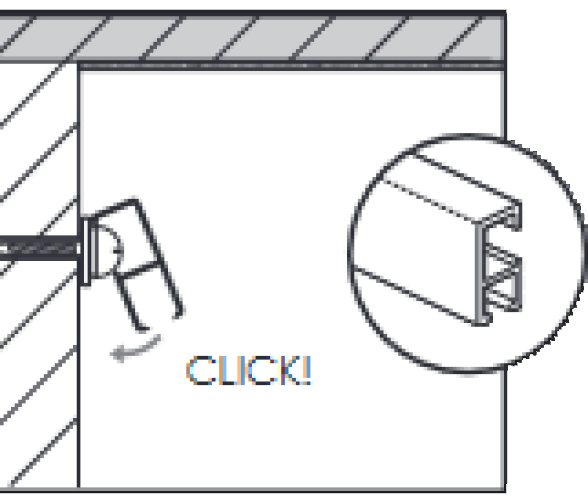
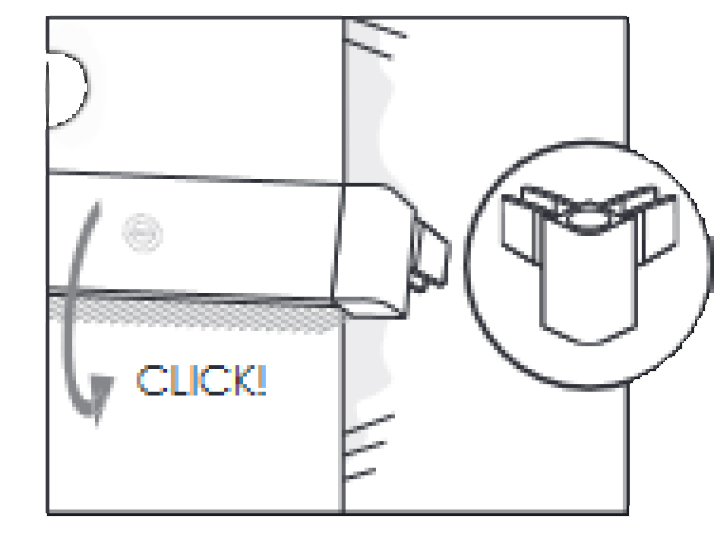
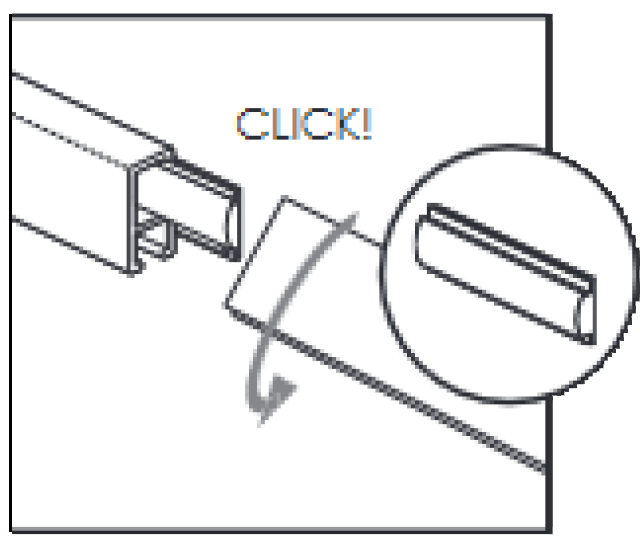
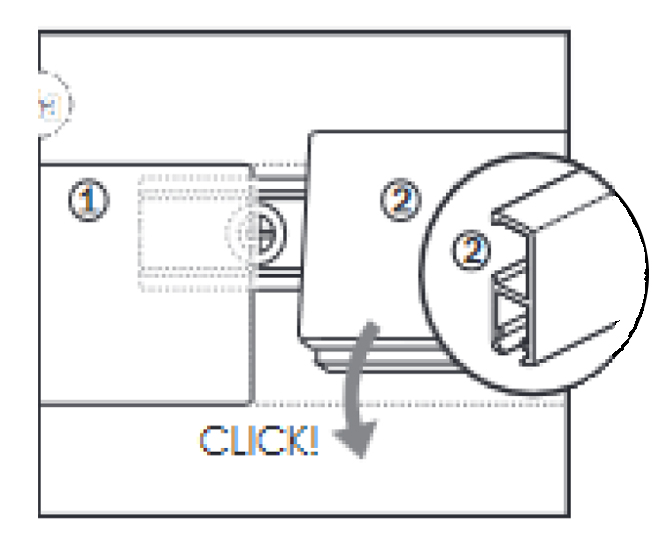
Step 3: Snap Rails into Place
Next, simply insert the top edge of the Rail Track into the top edge of the system locator or connector. The process is the same for using system connectors or system locators. Push the bottom of the rail firmly until you hear an audible click. The click signifies that the rail was install correctly and you may now proceed with attaching your hanging pieces.
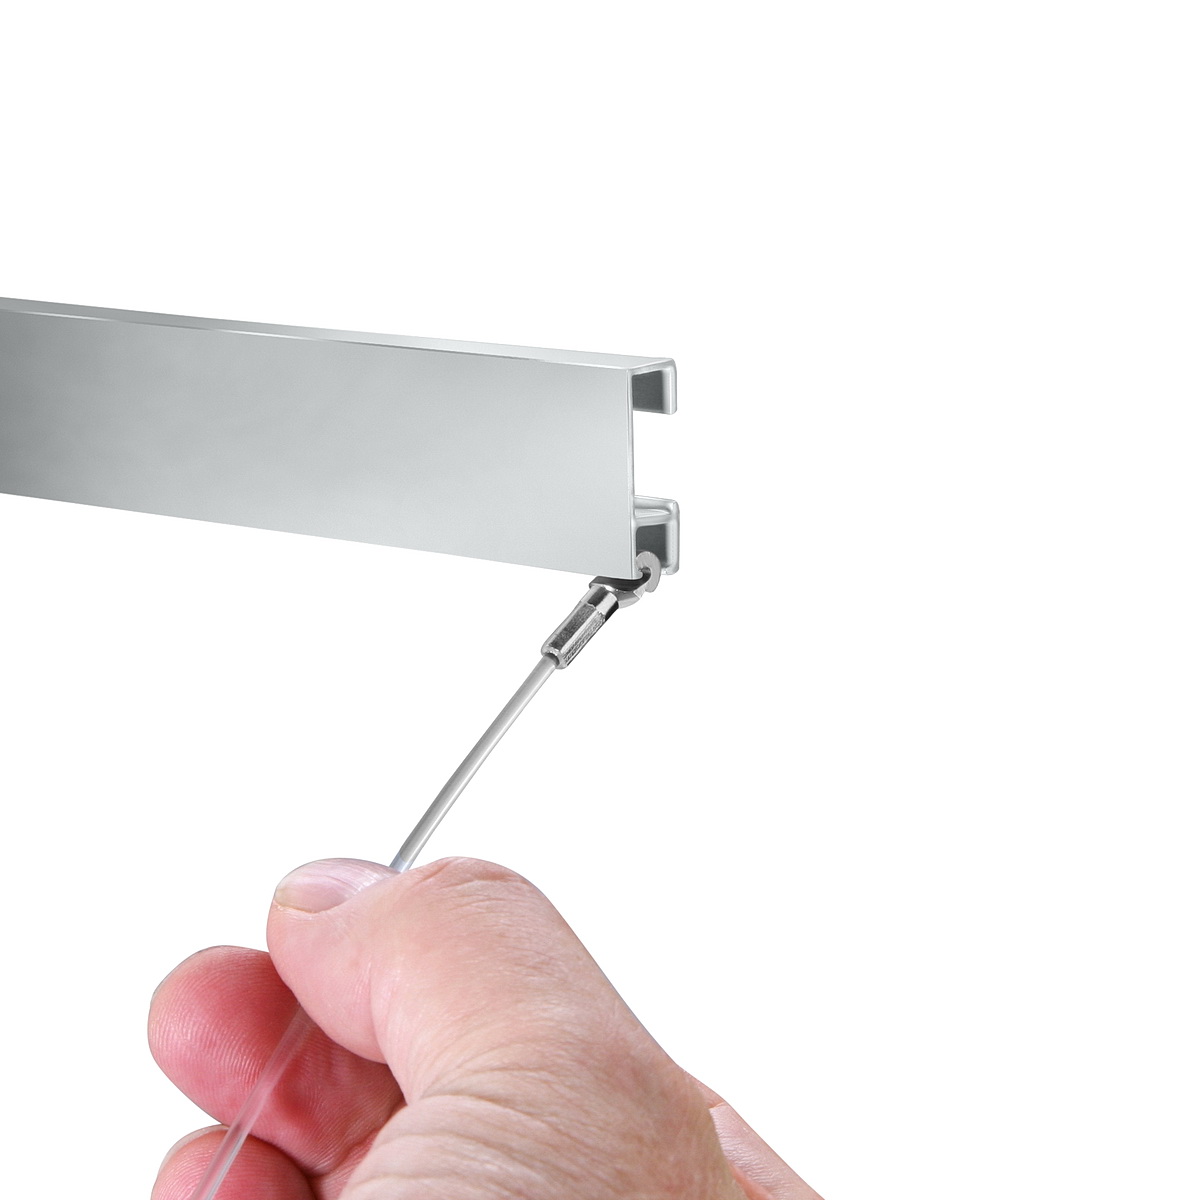
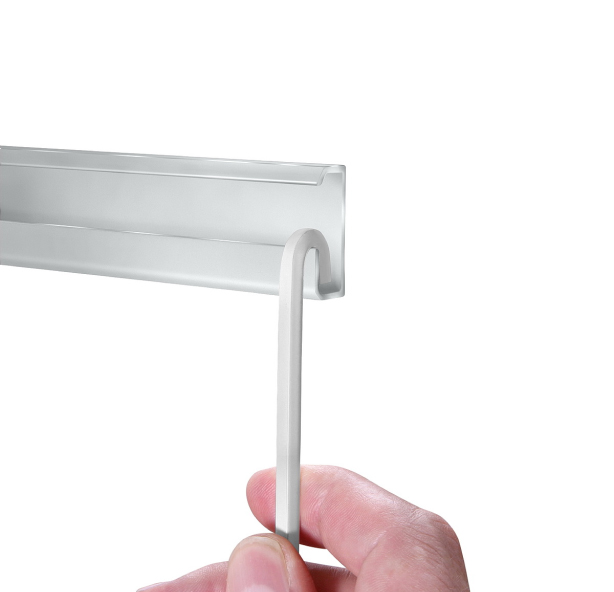
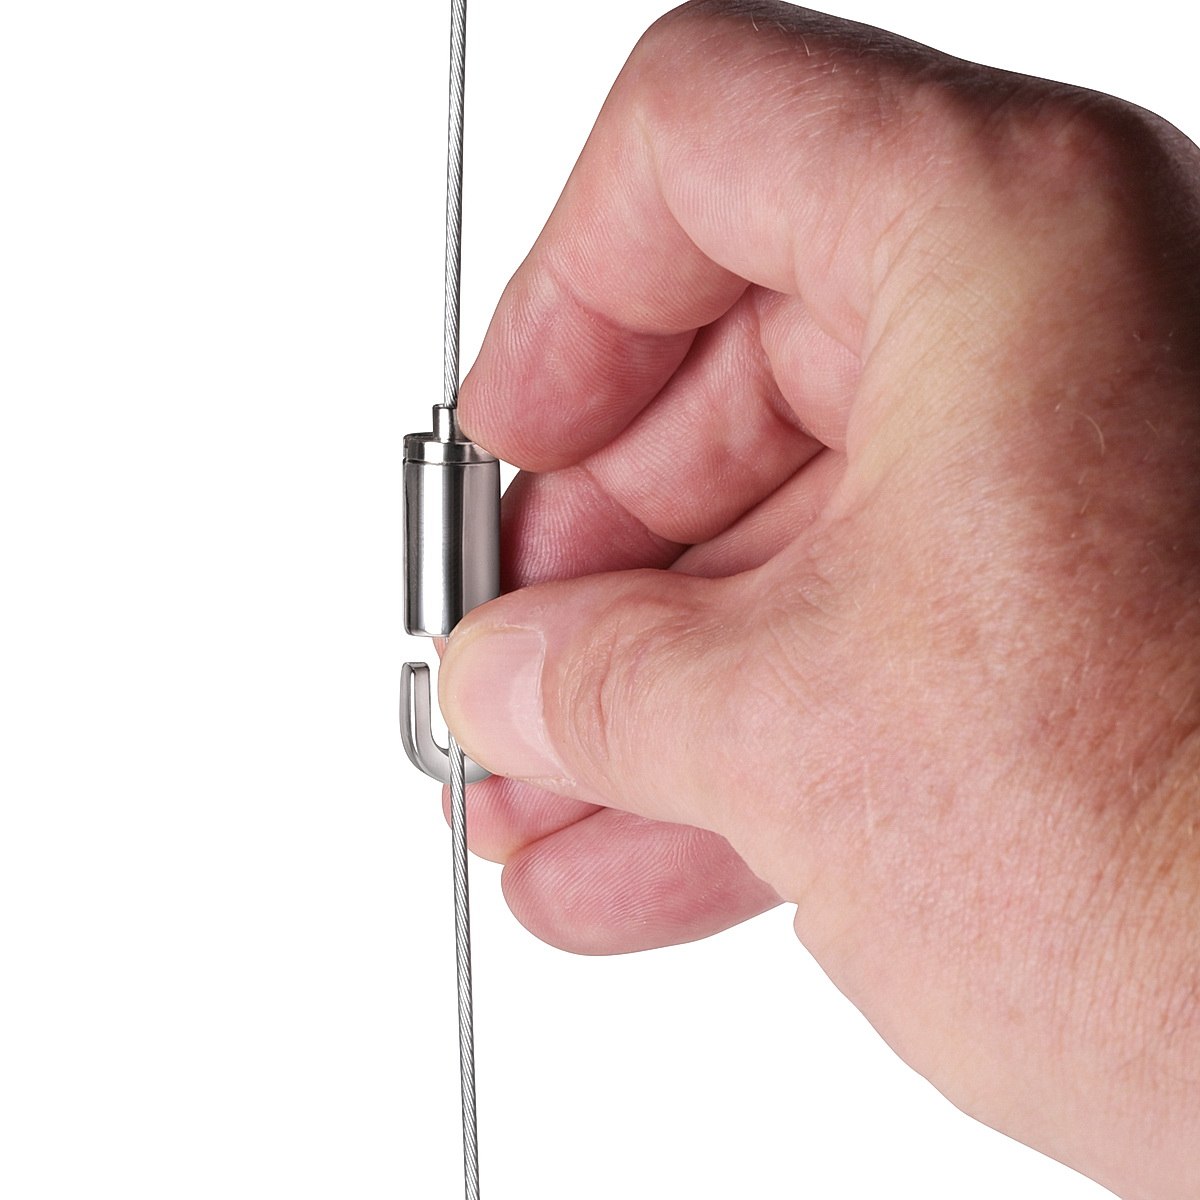
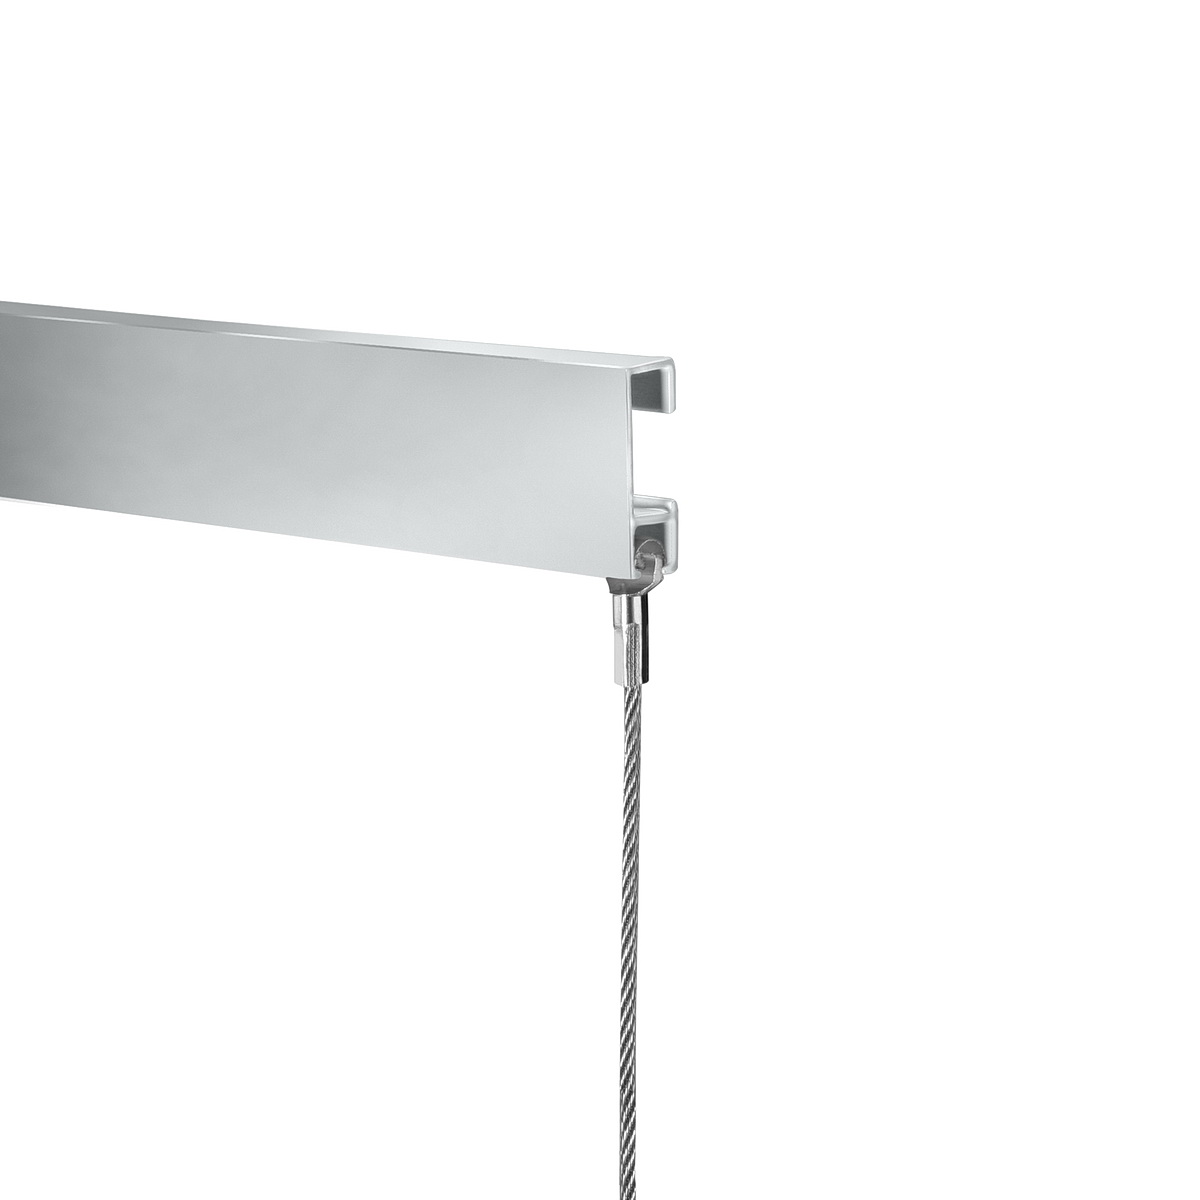
Step 4: Mount Cables and Hooks to Rail System
After the rail is securely attached to the wall or ceiling, select your hook and cable you would like to use. *Note - “P” ended cables are only compatible with the classic and ceiling rail systems. To attach the cable to the rail hook the open side of the cable underneath the rail, and move into place. For “P” style rods and cables, simply hook the cable into the lip of the rail wherever you would the art to be. Once the cables are correctly inserted, insert a self gripping hook into the open end of the cable and slide into place. The hook will lock itself into place once you release the safety lock on the hook. Simple and effective.