How to hang, with Mbs Wall Art Cable Systems
Mbs Hanging is the number one supplier for Wall to Wall cable hanging systems. Our Wall to Wall Hanging system is an aesthetically pleasing way to display Art, Real Estate Properties, Employee Acknowledgement, Company Achievements and much more. We sell kits that include everything you need to get started. These Kits are also modular, allowing you to add more pieces to expand the display to suit your needs. Looking for help? Continue reading for more information as well as shoppable links you can follow for inspiration.
Step 1: Measure and Mark
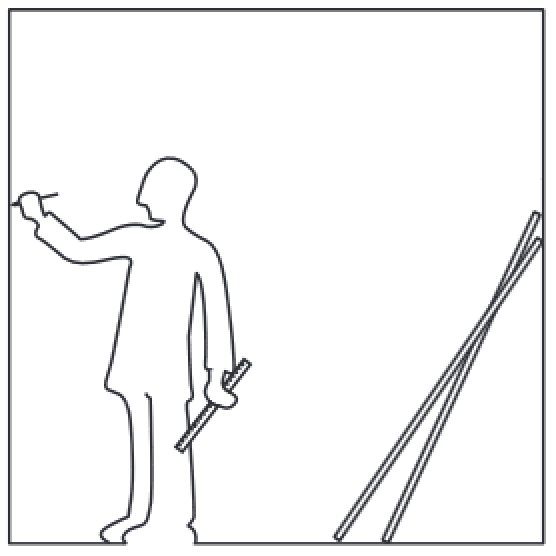
The key to successfully hanging anything on your ceiling or wall is to remember the proverb; measure twice and cut once. Some languages like Estonian it even translates to measure 9 times and cut once! The main principle is especailly important when working with our cable system as the width between the cables can vary depending on the size of the insert you have chosen. To create a straight line we recommend measuring out the spot for one anchor and then using a piece of painting tape or string to mark out a straight line for the anchor on the opposite side.


Tools Required
- Drill/Screwdriver*
- Marker or Masking Tape
- Ruler/Tape Measure
- *Drill only required for concrete anchors
Step 2: Install Mounting Hardware
Once you have the holes for the anchors marked out use your screwdriver (drill if installing into concrete) to screw in the plastic or metal anchor into the wall. We recommend working from the bottom up, so starting with the bottom anchors screw in the base hub into the anchor with the included hardware.
.gif)
With the anchor securely in the wall you can proceed with installing the first part of the cable holder into the wall. Take the flat round base and screw it into the wall with the drywall anchor. A drill is not necessary however it can allow you to install the base and anchor much faster.
Step:3 Assemble Cable Holders
After the base is installed the rest of the cable holder can be assembled. From the base, screw the bottom assembly into the circular anchor that is attached to the wall. A samll stud then can be screwed into the bottom assembly. Next is the middle and top tensioners that are easily screwed into the rest of the cable holder.
.gif)

The wire should fit right in and is tightened with the studs that are screwed into the sides with an allen wrench. At this point it is important to look at the cable and measure it out along the wall to the desired height, if there is excess past the anchor you may cut it to fit.
Step 4: Install Grippers and Acrylic frames
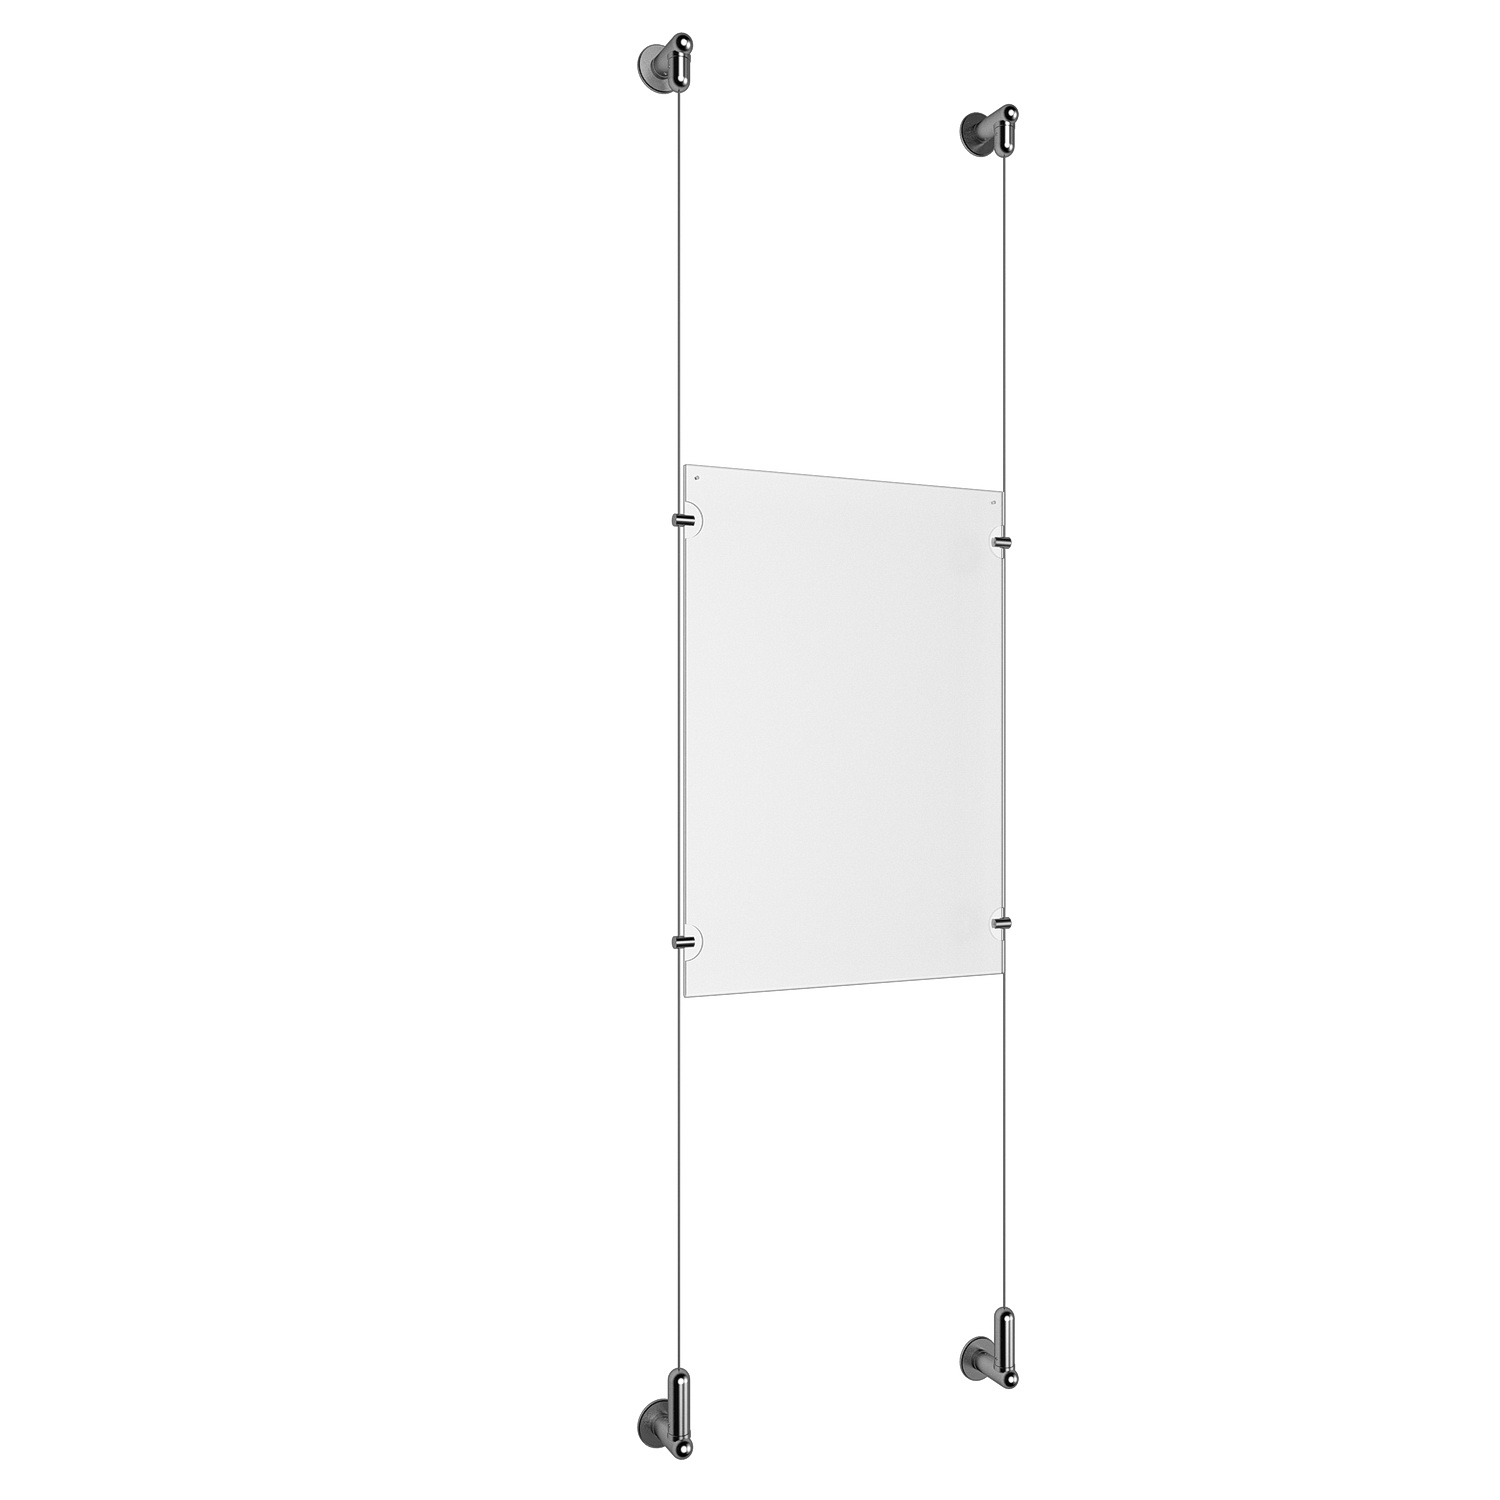
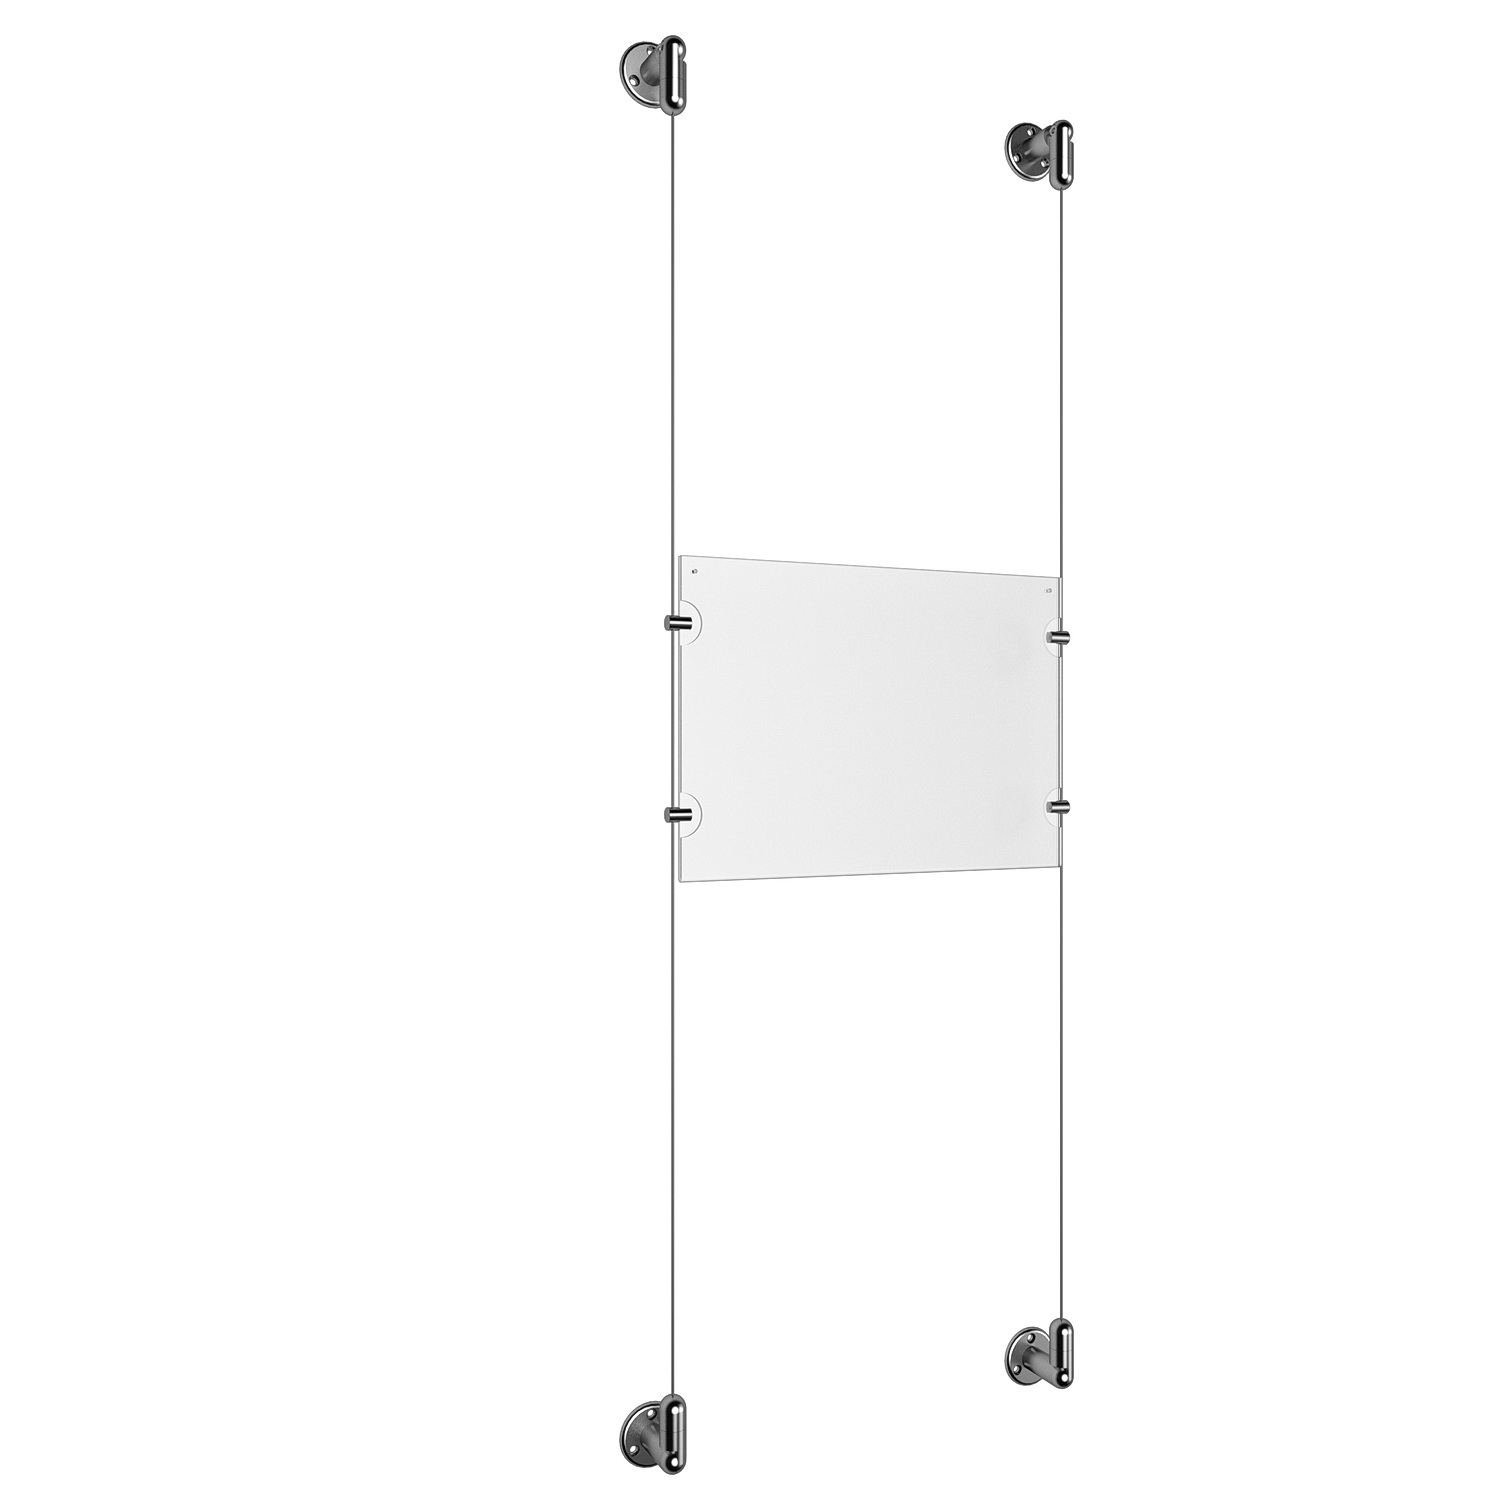
The greatest part about our cable display systems is the fact that they are completely customizable. You can add as many extra rows as you like, just switch to a double sided gripper if you would like them to share a cable. You can also choose exactly where on the cables you would like the media to be displayed. This is through the use of our projecting grippers. Our Grippers can slide up or down on the cable, and be locked into place with the set screws once you have placed them at the desired location. Tighten the screws on the side of the cable to lock the gripper into place.
After your grippers are in place insert the acrylic sheets included in the kit and tighten until they can no longer move. Your Cable Hanging System is now ready to go, to use simply insert your media into the top of the acrylic sheet and let your creativity shine.


